Wait a minute... I thought this was a blog about chickens? What's with the cat tree? Well, we decided to order chicks about a month ago. Then we had to start thinking about a coop. I looked at coops we could purchase, but they were all either too small, not weather resistant enough, or way too expensive. Could I build the coop of my dreams? Could I really, truly build my own coop? I've built guinea pig cages before (more on that in the future), but that's pretty easy. I like using power tools, but I hadn't built a huge project. I hadn't built anything in awhile. So I thought, "Hey, let's start small and find an easy project first." So I'm thinking of easy projects and of course a cat tree comes to mind because we have 4 cats!
So I started where any reasonable person would start nowadays... YouTube! I finally settled on using the
CatsonGlue video on how to make a medium sized cat tree as a guideline, with a few modifications. So thanks guys, for some great ideas there!
Of course, the first thing I realized is that I didn't have any tools. Obviously, if you don't have any tools currently, buying a cat tree will be cheaper than building a cat tree. However, keeping in mind that I would also need these tools for building the chicken coop, I bought a power drill/screwdriver and a reciprocating saw (if you're only building a cat tree, this is NOT essential, I will tell you how to work around not having this). You'll also need a hot glue gun (the kind that gets really hot works better than a crafts-only type). A heavy-duty stapler also comes in handy.
Aside from tools, there are a few other things you are going to need. If you recently had carpet done, hopefully you have plenty of "free" carpet to use on your cat tree. Check groups like FreeCycle for carpet if you don't have any yourself. You will need to buy one QuikTube (those cardboard tubes used for cement), some OSB or plywood, a 12 foot 2x4 cut into three 4 foot pieces, and as much sisal rope as you feel like using (I went with 50 feet, you can use more if you want).
Here is a gratuitous photo of 3 of our 4 cats checking out the QuikTube. We used a 12" nominal QwikTube, but if you have larger cats and plan to make a bed, you may want something larger (more on that later).
To make the cat tree I've made, here's what you need to do to your QwikTube. Cut an 8 inch tall section off one end, set aside as this will be used for a round bed. Cut an 18 inch section. Then cut a 12 to 18 inch section depending on your needs for the middle bed. This section gets cut in half and glued together. You will have an extra piece leftover. Use the extra piece as something for the cats to play with while you build the tree. You will also use it later for measuring. For all of this cutting, what are you using? Well, the guys on YouTube used a reciprocating saw for this part. Which is great,
if you have one. If you don't have one and don't want one, don't worry! A small multi-tool saw also works if you have time on your hands. A handheld drywall saw would probably work too. What does not work? A utility knife (boxcutter) will not cut through this stuff. So as long as that isn't your only tool in the house, you should have something already that you can use.

You could build the base first if you wanted to, but I started with carpeting the cardboard beds. The above bed is the one made from cutting the cylinder in half, and then gluing the pieces together for adding stability. I used the beaded glue gun method as shown in the above video. I started with the side not showing in the photo, then I folded over the carpeting on the edges so that I could clamp it down. After it dried, I put in the center piece (you can still sort of see the seams in this photo). To get the edges looking nice, if your glue gun has a lower temperature setting, put it on that, lay down a bit of glue, then pinch the carpet over this with your fingers and hold it there for a few minutes. Do NOT try this on the hot setting. You will burn your fingers! Even on the low setting, try to only touch the carpet or it does hurt a little bit and may burn depending on the temperature of your low setting.

Let's get away from the beds for a moment here, and take a look at the wood you'll need. Besides, for the circular bed you will need the wood before you can carpet it anyway. At this point, if you do not own a reciprocating saw or circular saw or some other type of power saw, do not panic. You can buy plywood pre-cut in several home improvement stores. The circle however, may be a little more difficult to find pre-cut where it would actually fit the tube (remember, it's not exactly a 12" diameter! don't cut without tracing the circle to make sure it fits!). If you can't get a circle, you can make another type of bed instead or make a shorter cat tree. Do what works for you. In the video you'll notice they use 3 boards, but it ends up warped a bit when they put the third piece on top of the other two. You could buy thicker board if you need it to be heavier, you could add a weight to it, just be creative here. We used two 2'x2' pieces of OSB for the base (it's heavier than plywood and cheaper, but harder to find pre-cut). Remember, these pieces will be covered so they don't have to be pretty! As you can see in the picture, I've already glued the bed at this point. Use a lot of glue, don't be stingy on this part. This has to hold the weight of your fattest cat. If you have larger cats (over 15 pounds), I'd recommend not making this bed and just substituting something else as your cat probably won't even fit in the bed.

Back to the circular bed... remember how I said the only thing holding it together is that glue? I wanted to give it a bit of an advantage so I wrapped the first carpeting around like this. This made me have to cut a few more semi circles and I'm not really sure how much it helps. If you want to do this the easy way and just make 2 circles and 2 rectangles of carpet, that would probably be fine too.
If your circle isn't super perfect, don't worry because here it goes being covered by carpet anyway.
As you can see here, if you had a larger cat this bed just became even smaller with the carpeting added. Test your cats out first in that extra piece of tubing you had. Ours love squeezing into small spaces though and our fattest cat took over the tree and she loves this bed.
The final bed/tunnel is actually probably the easiest one to make. You could make this one first if you wanted to. The outside is one rectange of carpet, folded in on both sides. The inside could be just one rectangle, but I found it easier to do 2 separate rectangles in the center. Even the cats that don't enjoy jumping love this tunnel. I would say you should definitely place this on the bottom of the cat tree just because they have so much fun running through it. Then when they feel lazy you'll see them sleeping in it.
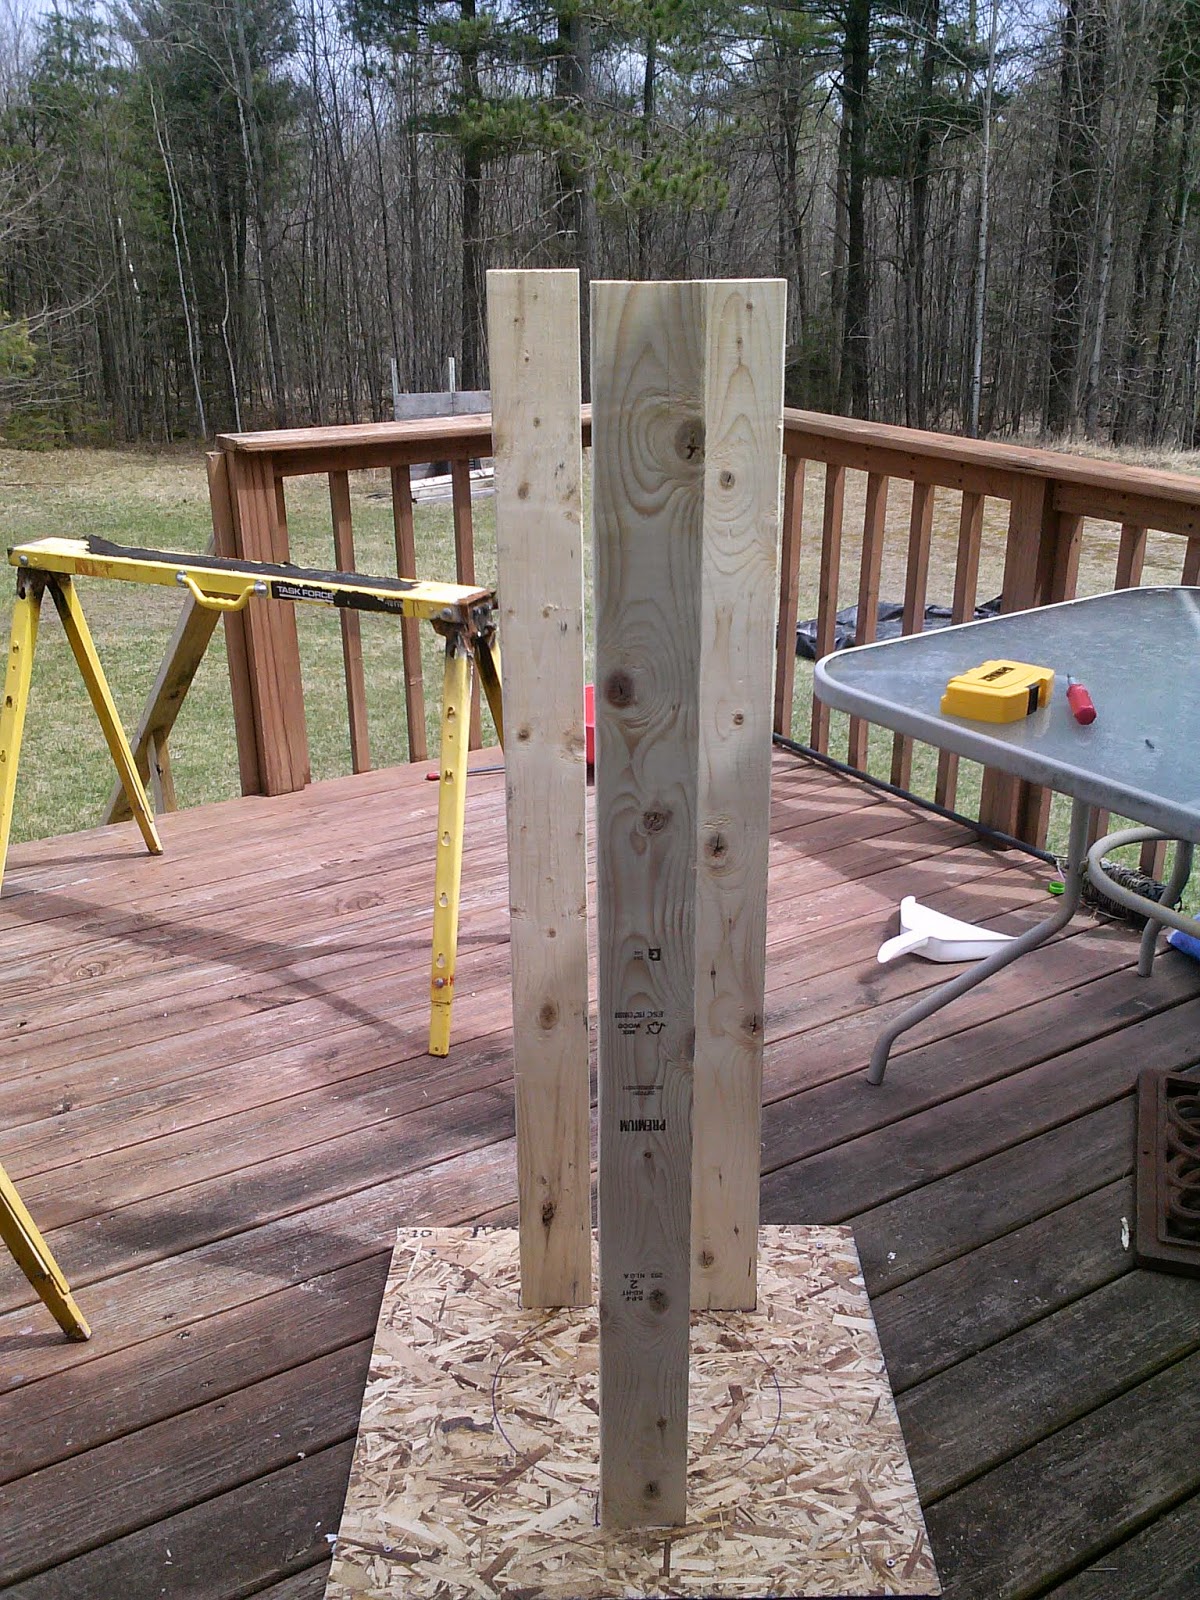
Now it's time to make the base (unless you skipped ahead and made it first). In this picture everything has already been nailed and screwed together. For this section, there are multiple ways to do it depending on what supplies you have available. If you have glue you can glue the boards. I used screws to hold them together in 4 corners temporarily (you could keep them in permanently but my screws were too long and I had nothing to cut off the ends with). I used nails to get the legs on initially, then 4 screws surrounding them. You can also use lag bolts if you have them. Either way works. I used 3 inch wood screws which were really nice and went in like butter (drill pilot holes first).

For those of you who like everything shown step by step like I do, here's exactly how I secured the legs. The reason the nail isn't in the exact center is because the nails were approximated, and then the purple dots represent where I measured. If you just eyeball it, please please please, keep your fingers 3 inches away from the wood on the other side so that you don't screw through your fingers! Actually I'd recommend doing that anyway. What if your measurements were off?
Drill the pilot holes and stick in the screws, and you've got nice sturdy legs now. This is the only time you'll be using the 3 inch screws, for the rest of the project you'll want something shorter such as 1 5/8" screws. For people who absolutely hate nails, you could take out the nails at this point. I left them in because I can't see any reason for disassembling this entire base later. If the beds needed replacing someday though, that would be easy to do.

Cutting the carpet for the base can be a bit of a pain. Just make sure to measure, re-measure, and then measure again! I did a 2 inch hangover around the edge. I'd recommend doing just a little bit more. It worked the way that I did it, but it was a bit nerve wracking at times trying to pull the carpet enough to staple it to the OSB. You don't have to use staples, but I found they worked well. I didn't bother to carpet the very bottom as it is not visible. Also, if you have a power staple gun it will probably be a lot easier! But before you start stapling your carpet...
Think about what you want to do with the legs! At first I thought we would carpet the legs, but then I thought it was looking like too much carpeting. So I was thinking of just leaving it as plain wood. Well, without staining the wood it really didn't match our living room at all. But as you can see, I was able to stain it carefully and neatly anyway. Not one drop dripped onto the carpet!
Next you will want to wrap one of the legs in sisal rope (or more if you desire). Only one leg is outward-facing on our tree, so I wrapped that leg. Keep this in mind as you are making the tree because there is often writing on a portion of the 2x4. I was able to put the rope over all of the printing. I glued it on the bottom and along the top because this makes it possible to replace in the future when it is all scratched up. As you can see, it takes longer to wrap the leg if you have a helper cat like Edward.
So that's the rope and the tunnel is just sitting there at this point to make sure it all still fits together. Which brings us to another important point: before you install the parts, make sure they fit where you think you want them! The rope made this just thick enough that the circular bed no longer fit in the center. This ended up being ok as it was clearly better suited to be a top bed anyway (at least, according to Zoey).
If you won't be carpeting the entire legs, at least cap the tops in carpet to avoid an sharp edges. By this point you know what you're doing with carpeting.
Now screw the pieces together and you've got a cat tree! Ok, I'll back up a little. Get the tunnel right where you want it and put a screw through each leg (no pilot holes there for us, the drill barely fit). Hopefully your drill isn't too large to fit inside the tunnel! You really can't screw in through the other way as you'd end up with sharp points on the cat's side. The half circle bed takes one screw into each leg as well, as does the circle bed on top (angle the screws for the side legs). And there you go, you've got a fancy looking cat tree that you made yourself! It should cost about $40 not counting the tools or carpeting. If you don't own a saw, you might spend a bit more getting the wood cut.
Here's another view of the cat tree.
Here's Stormy, our fearless cat model showing you how this tree is used right after we finished assembling it.
This is Zoey enjoying the bottom tunnel later on (she has basically taken over the entire tree now, so much for all 4 cats getting to enjoy it).
Zoey is our climber/super jumper, so I basically knew at the very least this top bed would be hers anyway. If none of your cats are good climbers, you may not want to make a 4 foot tall cat tree or you might want to pick a design that is a bit more accessible to climbing-challenged cats.
Well there you have it, that's how to build the cat tree that we built. Hopefully soon you will see how to build a chicken coop! Any tips along the way for that project would be greatly appreciated at this point. Happy cat tree building adventures!


